Bugs
Ubuntu Keyring Configuration Guide for Auto-Login Setups
1. Core Components & How It Works
- Relevant system component: GNOME Keyring (the GNOME keyring daemon).
- Relevant tool: Seahorse (GUI tool shown as “Passwords and Keys”).
- Underlying mechanism:
- Applications like Chrome and VSCode store sensitive data (cookies, login tokens) in encrypted form, and the encryption key is stored inside
login.keyring. - By default, the keyring password is the same as your system login password.
- Conflict: When Ubuntu uses password-less auto-login, the system never receives your password during boot, so the keyring cannot unlock automatically.
- Result: Applications cannot access the keyring → they ask for a password → if you cancel, apps cannot decrypt their data → after reboot, login sessions disappear.
- Applications like Chrome and VSCode store sensitive data (cookies, login tokens) in encrypted form, and the encryption key is stored inside
2. Correct Setup for Your Next Machine (Best Practice)
If you install Ubuntu on a new machine and plan to use auto-login, do this setup immediately before opening Chrome or VSCode, so everything works cleanly and permanently:
Scenario: Auto-login is Enabled
Goal: Set the default keyring password to an empty password so the system can unlock it automatically.
- After logging into your desktop, search for and open “Passwords and Keys” (Seahorse).
- In the left sidebar, find the “Login” keyring (if it doesn’t exist, create a new keyring named
login).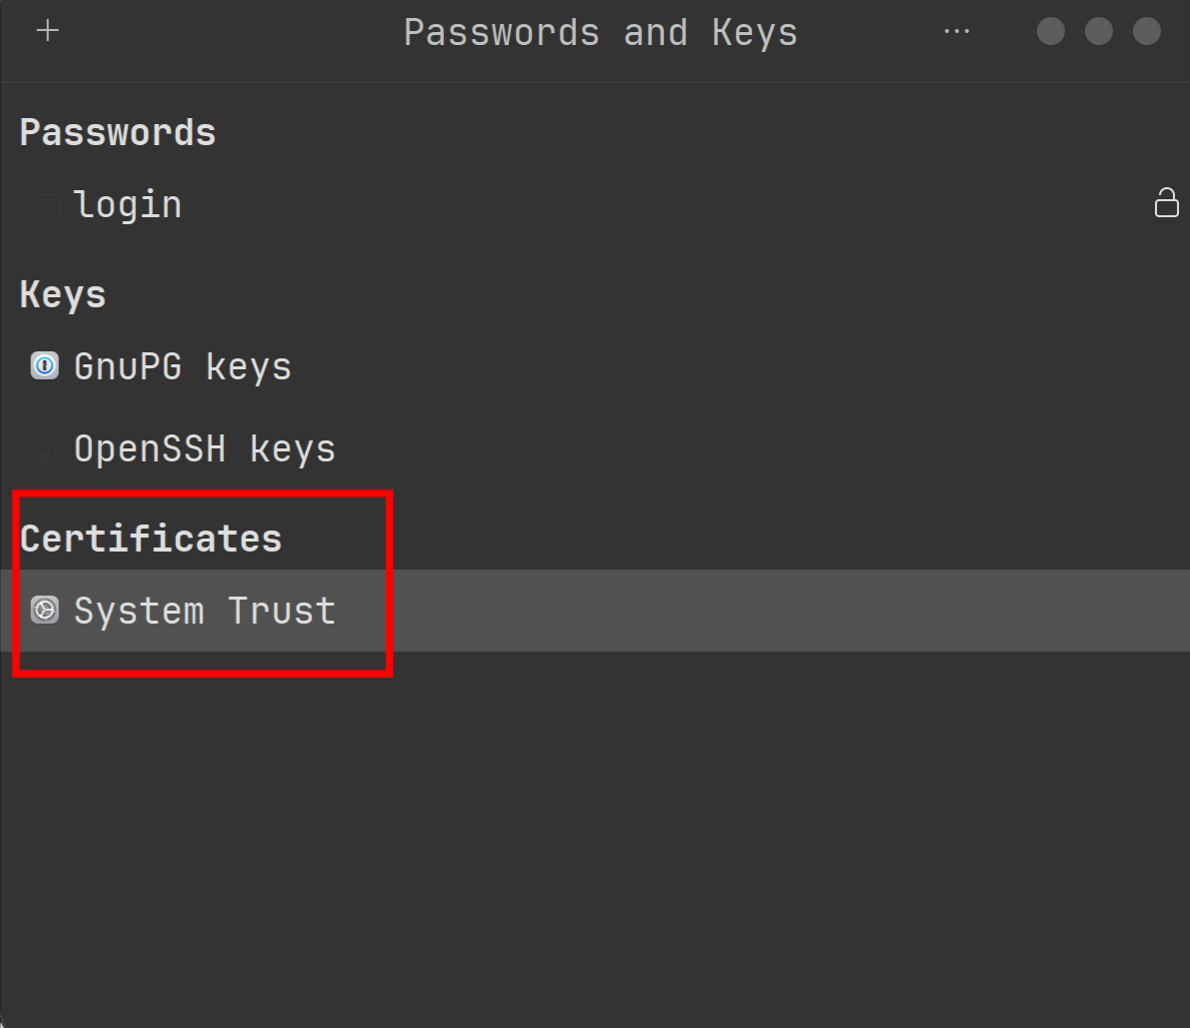
- Right-click the “Login” keyring and select “Change Password”.
- Old password: your system login password.
- New password: leave empty.
- Confirm password: leave empty.
- A warning about insecure storage will appear; click Continue.
- Right-click → Set as Default to ensure it’s the default keyring.
Done! Now when you install or open Chrome, VSCode, and similar apps, they will write data into this non-encrypted keyring, and your login sessions will persist across reboots—no pop-ups, no password prompts.