Terminal
Zsh and Oh My ZSH
Install ohmyzsh
sudo apt install zsh
# install oh my zsh
sh -c "$(curl -fsSL https://raw.githubusercontent.com/ohmyzsh/ohmyzsh/master/tools/install.sh)"
Install Fonts
Info
Nerd Fonts is a project that patches developer targeted fonts with a high number of glyphs (icons). Specifically to add a high number of extra glyphs from popular 'iconic fonts' such as Font Awesome, Devicons, Octicons, and others.[2]
Download Nerd Fonts and update Font cache:
mkdir -p ~/.local/share/fonts
cd ~/.local/share/fonts
wget https://github.com/ryanoasis/nerd-fonts/releases/latest/download/JetBrainsMono.tar.xz
tar -xf JetBrainsMono.tar.xz
rm JetBrainsMono.tar.xz
fc-cache -fv
select JetBrainsMono <Nerd fonts> in preferences-->profiles->Text->Custom font
restart terminal and test icons
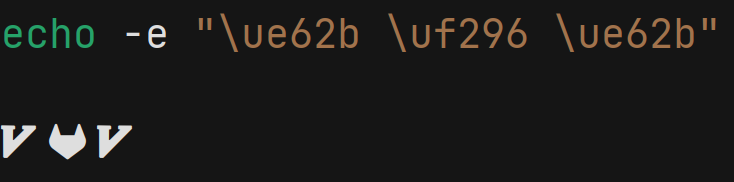
Install Theme
[!WARNING]
Nerd-fontsis prepared for displaying thepowerlevel10kicon
# install as oh-my-zsh plugin
git clone --depth=1 https://github.com/romkatv/powerlevel10k.git ${ZSH_CUSTOM:-$HOME/.oh-my-zsh/custom}/themes/powerlevel10k
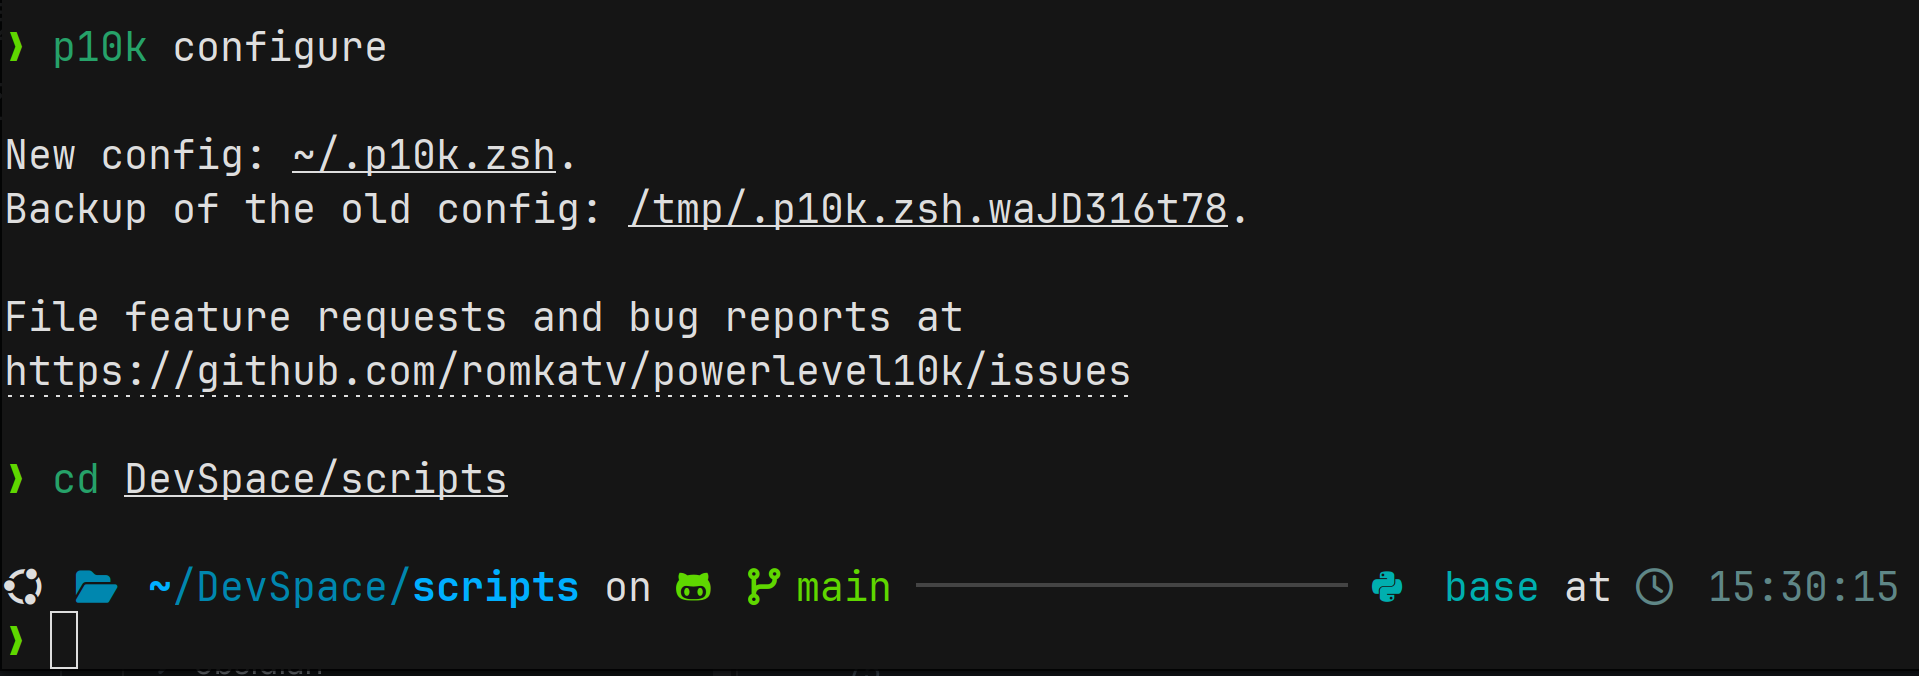
Open ~/.zshrc, find the line that sets ZSH_THEME, and change its value to "powerlevel10k/powerlevel10k" as following:
then restart terminal and config themes
🥳
Install Plugins
[!NOTE] You can update plugins manually use
omz update, or the system will periodically prompt you for updates.
install extra plugin from GitHub
git clone https://github.com/zsh-users/zsh-autosuggestions.git ${ZSH_CUSTOM:-~/.oh-my-zsh/custom}/plugins/zsh-autosuggestions
git clone https://github.com/zsh-users/zsh-syntax-highlighting.git ${ZSH_CUSTOM:-~/.oh-my-zsh/custom}/plugins/zsh-syntax-highlighting
git clone https://github.com/Pilaton/OhMyZsh-full-autoupdate.git ${ZSH_CUSTOM:-~/.oh-my-zsh/custom}/plugins/ohmyzsh-full-autoupdate
git clone https://github.com/fdellwing/zsh-bat.git $ZSH_CUSTOM/plugins/zsh-bat
activate the built-in or extra plugins in ~/.zshrc
plugins=(
    command-not-found
    extract
    docker
    history-substring-search
    z
    zsh-autosuggestions
    zsh-syntax-highlighting
    ohmyzsh-full-autoupdate
)
Note
plugin config must before the source $ZSH/oh-my-zsh.sh
Command-not-found
this plugin uses the command-not-found package for Zsh to provide suggested packages to be installed if a command cannot be found.
Extract
This plugin defines a function called extract that extracts the archive file you pass it, and it supports a wide variety of archive filetypes.
History-substring-search
The Plugin enables searching through commands history by typing a partial match of previous command.
Use ⬆️ or ⬇️ to match commands from history

Z
Zsh-z is a command-line tool that allows you to jump quickly to directories that you have visited frequently or recently.[3]
 1.
1. cd needs the specific directory, keywords of your directory which visited before is enough for z
2. tab with z show the scope that the keywords would match.

Zsh-autosuggestions
It suggests commands based on your history of previous commands and completions

Zsh-syntax-highlighting
Alert the wrong syntax with red color

Zsh-bat
This plugin will replace cat with batcat
VS Code Terminal Config
To config VS Code terminal, add the following properties to your user settings.json to enable Zshand monospace fonts.
[!NOTE] A restart is required for font changes to take effect.
{
  "terminal.integrated.fontFamily": "JetBrainsMono Nerd Font Mono"
  "terminal.integrated.fontSize": 14,
  "terminal.integrated.shellIntegration.enabled": true,
  "terminal.integrated.defaultProfile.windows": "PowerShell",
  "terminal.integrated.defaultProfile.linux": "zsh"
}
Tmux
install via sudo apt install tmux
config
git clone --single-branch https://github.com/gpakosz/.tmux.git ~/.local/share/oh-my-tmux

mkdir -p ~/.config/tmux

ln -s ~/.local/share/oh-my-tmux/.tmux.conf ~/.config/tmux/tmux.conf

cp ~/.local/share/oh-my-tmux/.tmux.conf.local ~/.config/tmux/tmux.conf.local

# make sure read the latest config
tmux kill-server
prefix is Ctrl+a/b
kill all session tmux kill-server
split panes prefix + - horizontally
split panes prefix + _ vertically
switch in different split panes prefix + h/j/k/l or ⬆️/⬅️/➡️/⬇️
scroll up or down in split panes prefix + [ into copy mode, then
- ⬆️/⬇️ or PgUp/PgDn
- g to specify which line to go
keep session running in background
press ctrl+B then d to detach
go back to session
Shortcut
Use Tab to autocomplete file, directory, commands
Erase the whole line via Ctrl+U
Clear screen using Ctrl+L
Home or End (Ctrl+A, Ctrl+E) can jump to the front or the end of the command
zsh-autosuggestions with ➡️ gets the command from history, but sometimes the partial commands, words need to be modified to run,Ctrl+U remove the word before the cursor
Ctrl+D terminates the current SSH connection
history-substring-search allows us to use keyword with ⬆️, ⬇️ to filter commands from history
Ctrl+C to kill the running program, Ctrl+Z to suspend it
Use Ctrl+Shift+C and Ctrl+Shift+V to copy and paste